Day 34 I went and got the temporary registration for the state of Texas so we can get it weighed and get the full registration on it to make it road legal. We took it on its first ever drive around the block.

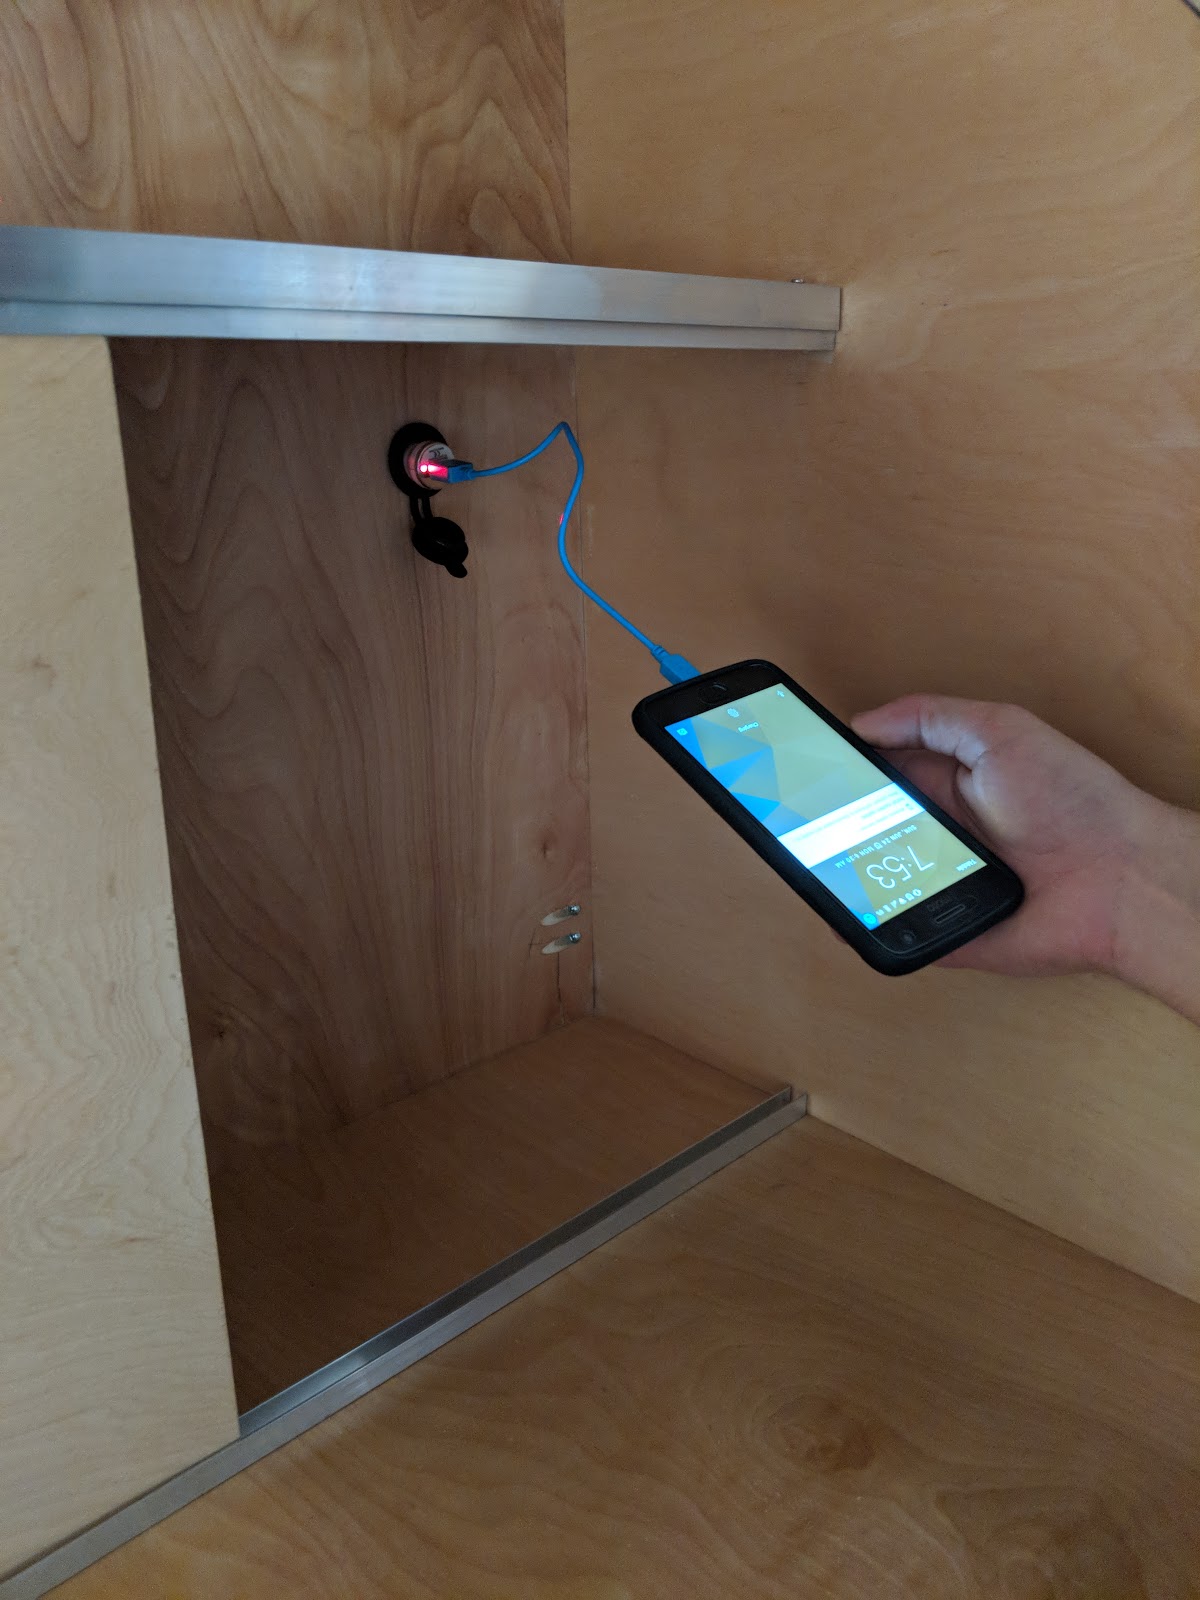
After that we decided to work on the little detail projects we've been putting off. We wanted to install two, 12V outlets, one for the interior and one for the galley. We use a 1" spade bit to drill through the cabinet base and then a sanding dremel bit to widen the hole. The outlet fits and you can plug the car charger type cord up into the bottom of the interior cabinets.

The second 12V charger comes out the back galley cabinet in case we need it for anything in the kitchen. They are run through the solar converter so it should pull from solar power first before pulling from the battery. We tested it and it worked!
Our next project was to get the cabinet doors on. This has been a couple day process as we ran out of 1 1/4" wood screws. In the meantime, I made an attachment piece for the cabinet hardware. I used 2, 1 1/2" wide pieces of 1/2" plywood and glued the faces together. I then made a trim piece out of 1/8" luan to make a pretty face of the attachment point. If that makes sense. It should clear up in the below photos.

While the glue was drying, I checked out Dan's electrical work. He did an amazing job getting everything fitted in the tongue box and he built a battery holder out of wood so the battery doesn't shift around in the box.

Went back to Northern Tool and got a wheeled 1,000 lb jack for the front of the trailer. It's definitely not incredibly stable so we use the jack in combo with some trailer jacks that sit on the ground (plus a bucket) to keep it stable. The jack is bolt on so no holes had to be drilled or anything had to be welded.

Once my plywood pieces were dried, I added the "face" to the thin side that's facing outward.

We cut the doors out of leftover 1/2" plywood. 16 1/2" tall and 23" wide. We kind of winged it and super thankful it worked out.

We used flush hardware so you don't see the hinge and the face of the cabinet is right up against the bottom of the counter. We used the drill press with the 1" spade bit to drill holes like we did with all the other doors on the teardrop.


So glad all that is done. Cabinet builders are insane. That's a tough job. And we had an easy version...

After both the cabinet doors were on, we had $1 latches and just figured out how to make it work for what we wanted it for. We will still need to figure out how to secure the cooler so it doesn't slide around.

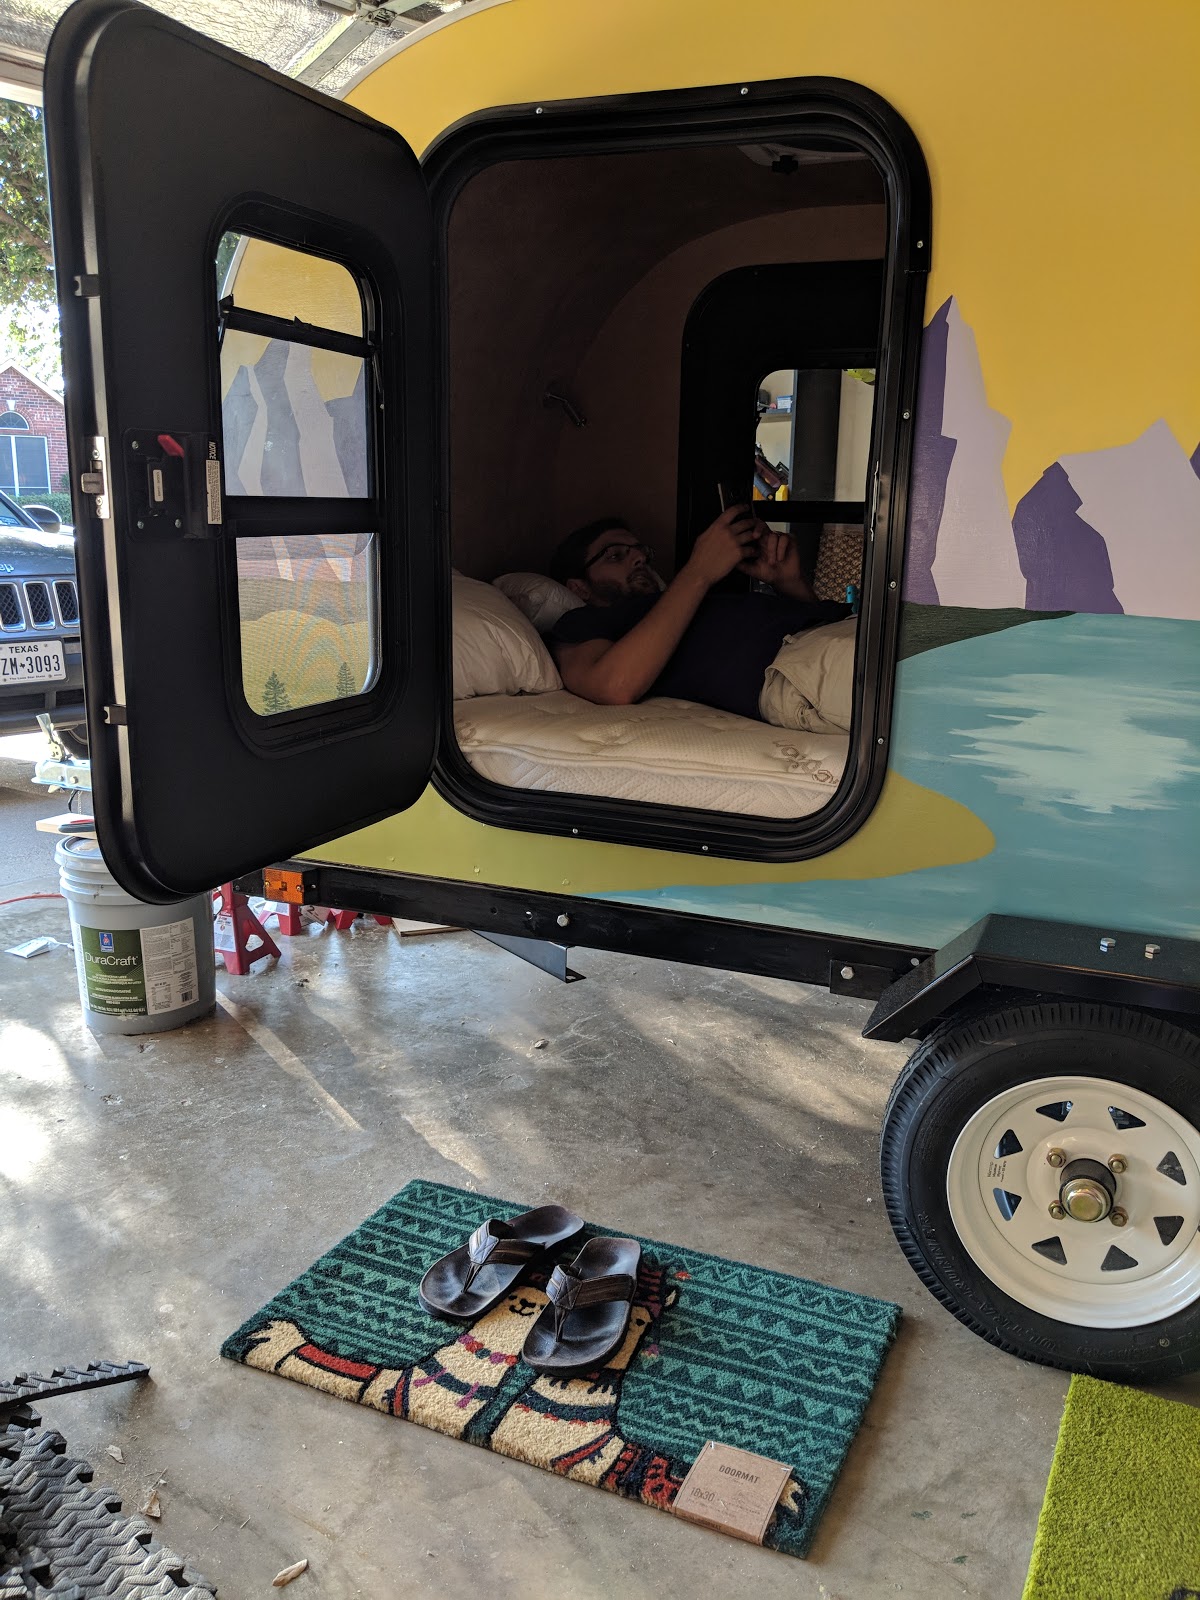
Got some cute doormats at World Market.. a llama one and a bee one. I thought we could put our shoes on it so they don't get the inside dirty. A wonderful idea until Dan informed me, "until scorpions take up residence in your shoes." Touche, Texas.
Our solar panel came in! We have a cord house that mounts on for where we drill it in, but it looks stupid so we are going to engineer another way to cover and keep the cords safe and waterproof the area where they go into the cabin. If you have any ideas, feel free to drop them in the comments!

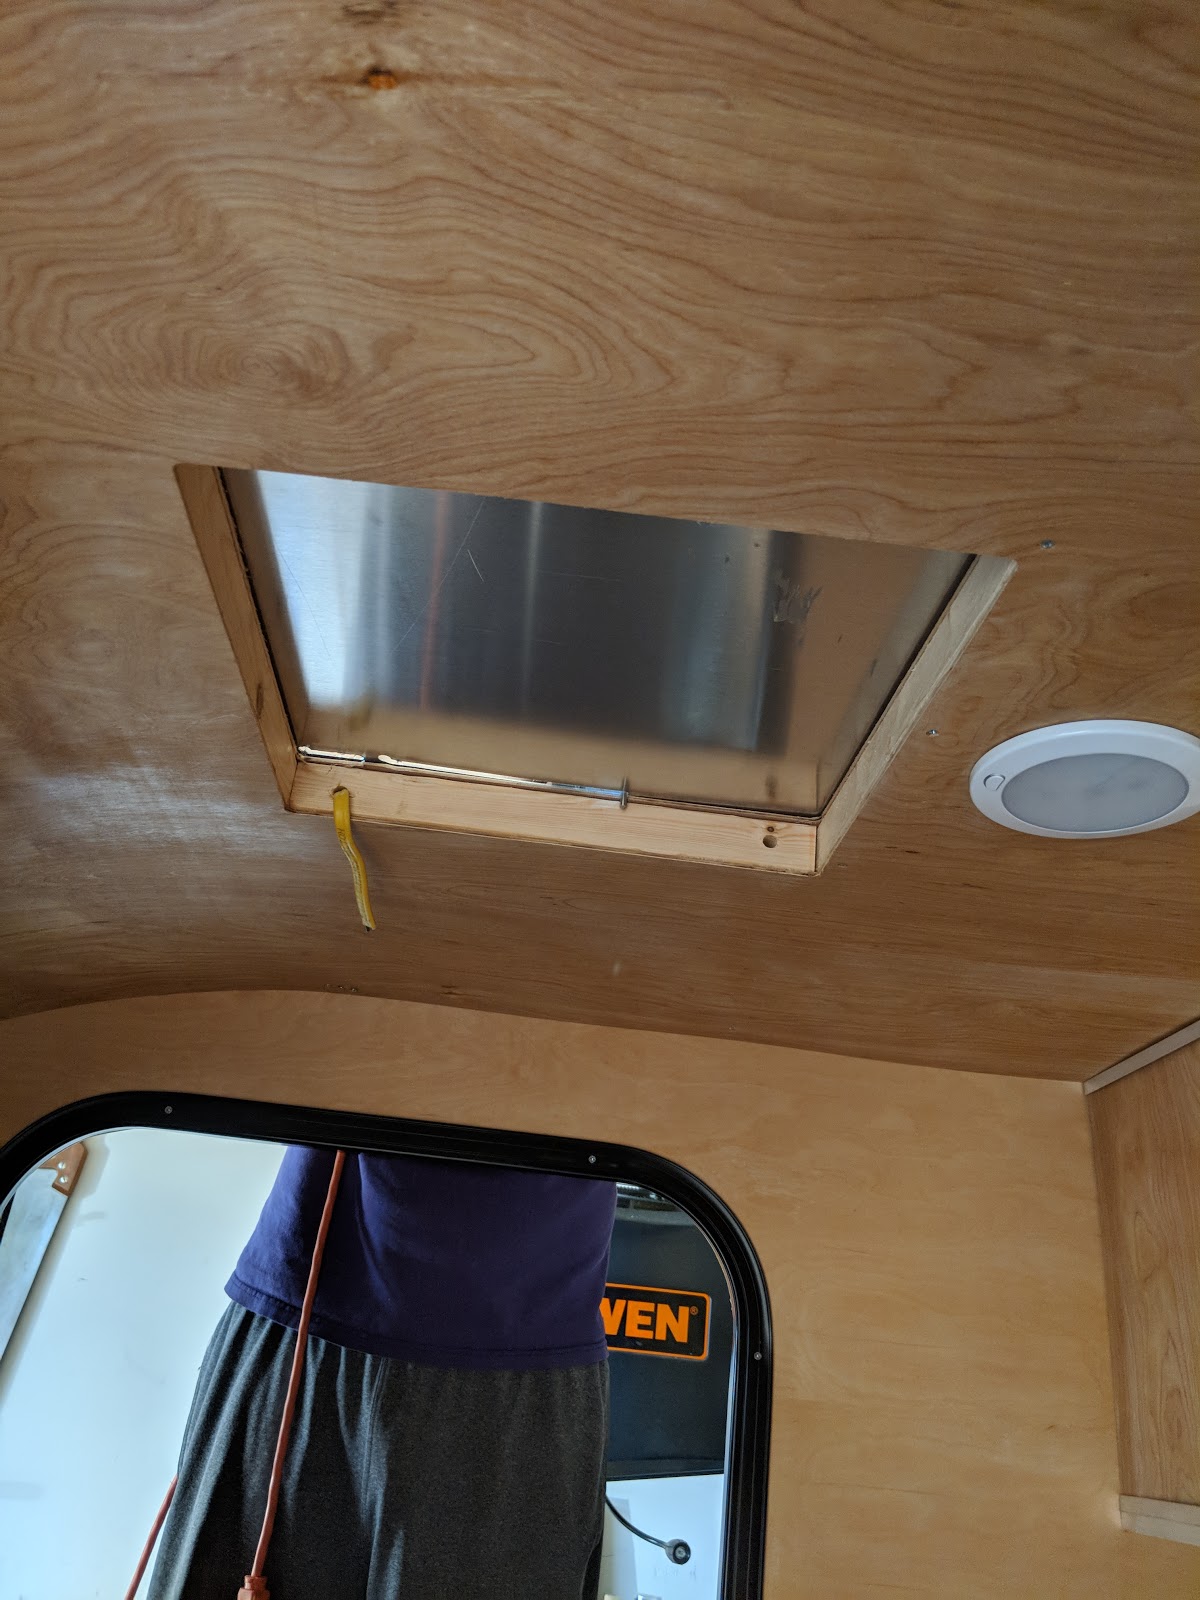
Lastly is the gas struts to hold open the hatch. We've been using a hatch calculator and thought we had it all figured out and then the struts didn't hold the weight of the hatch. We ordered a new pair that are the same size but twice as strong, those should be in shortly.

Total time spent Days 34-35: 5.5 hours
Total project hours: 129 hours