Wednesday, May 16, 2018

Days 18-19: Painting the Exterior

While we are waiting for our custom mattress to arrive, I decided to take some time to draw up and paint the exterior. I'm not head over heels in love with it, but I don't hate it either. I wanted to go this route so that if we end up with a fleet of them, we can have different scenes so they look good together.


Total time spent Day 18: 8 hours 
Total project hours: 69 hours

Day 19 was spent painting all day again. I put a layer of the lumber-seal on before the paint as well. I plan on doing two coats of that sealant post painting and then 2 coats of high gloss polyurethane.

I decided to change some things and add some things but I think this is roughly what it's going to look like! 

Got a couple of hours starting the driver's side, too!


Total time spent today: 8 hours
Total project hours: 77 hours

Wednesday, May 9, 2018

Day 17: Doors Have Arrived!!

We ordered custom made 26x36" doors from Challenger Doors a couple weeks ago and they just arrived and they fit!! Spent some time playing around with them in the garage. They lock from both the inside and the outside so tbats pretty handy. We didn't do any actual work today but wanted to share photos!

We also decided to source our 4x10' aluminum for the roof from Discount Steel for $62 a sheet. It is the best price we've found in the metroplex, by far. Going to pick it up next week and start working on our hatch and finish up the interior.


Monday, May 7, 2018

Days 15-16: Running the Wiring and Learning Lessons

We were so jazzed up from our last time working on it and the progress we made that we set a bit too high of expectations. Day 15, we ran the wiring we got from Home Depot through the TD. Six wires, 1-Inverter 2-Fan 3-Dome Light 4-Solar (Surprise!! We will be installing a permanent solar panel on the roof!) 5/6- Reading lights. 


We labeled the ends so we knew what was going where. 


Actually not convinced we got much more done today except for installing the base of the interior cabinets. Oh! We routed out the hole in the interior ceiling for the fan to sit in. Even wearing safety glasses Dan managed to get a chunk of wood in his eye. He also is super weird about things in his eye so trying to flush it out wasn't the easiest of tasks. Doctor Danielle to the rescue though since we finally got it out after taking my bottle of saline and flushing it up under his eyelid. 

Also, we fit!

Total time spent Day 15: 3 hours
Total project hours: 57 hours


Day 16 was a rubbish day. We spent around 4 hours trying things and failing and not able to get cabinetry hardware to work. All we have to show for Day 16 is that we got our dome light installed. (Which was the easiest part of the entire project thus far.) Here's hoping our next work day is a better day! Taking a few days to recuperate from being burnt out of TD work. We've logged 60 hours in probably 2 weeks. 


Time spent Day 16: 4 hours
Total project hours: 61 hours

Friday, May 4, 2018

Days 13-14: Installing Spars and Interior Ceiling

Day 13 was May 2, which happened to be our third wedding anniversary!! Of course we spent it getting some quality TD work done.

Cut our spars to 46 3/8" and installed them 12" apart on flat areas and 6-8" apart along the curve. I used the drill press and the 3/8" spade bit and drilled six holes into each spar so we can run the wiring through the ceiling.


Spars were installed with a 2" exterior screw through the outside except for the bottom two spars. We used pocket holes and installed them inside out since the bottom half of the exterior will be exposed since we are doing a two tone design.

We got our Maxx Air fan the other day and it fits the 14"x14" framing we built for it. Since our roof is not going to be the minimum 2' thickness, we will be building a small interior frame to help with the depth of the fan.


Total time spent Day 13: 2 hours
Total project hours: 50.5 hours

Next day we put in our interior ceiling! The width of our interior is exactly 46 1/2" so we took the circular saw and attached the guide and buzzed off 1 5/8" so we had a bit of wiggle room. Our radius is 25" so we figured we could bend our board vertically instead of horizontally so we would have less waste. 1/8" plywood (luan) bends better one way than the other.


And we found the bad way.


Next piece we took much slower and had to wet it to get it to bend along the spars. Still regret doing it vertically as it was a nightmare trying to get it to move with the friction of the ceiling. Once I got it an inch or so away, Dan applied the polyurethane glue and I got it against the spar and installed a 3/4" screw on each end of the spar close to the interior walls.


In one frustrated effort, I managed to crack it. 🤦🏻‍♀️ I'm thinking about putting in a strip of wood like I was covering a seam to cover it up. It's also not crazy noticeable if I don't shine line directly on it. It didn't fully crack on the inside so I slathered glue all up in the crack and it seems pretty stable since it had time to dry.


Total time spent Day 14: 3.5 hours 
Total project hours: 54 hours

Wednesday, May 2, 2018

Days 11- 12: Making Sliding Cabinet Doors and Trim

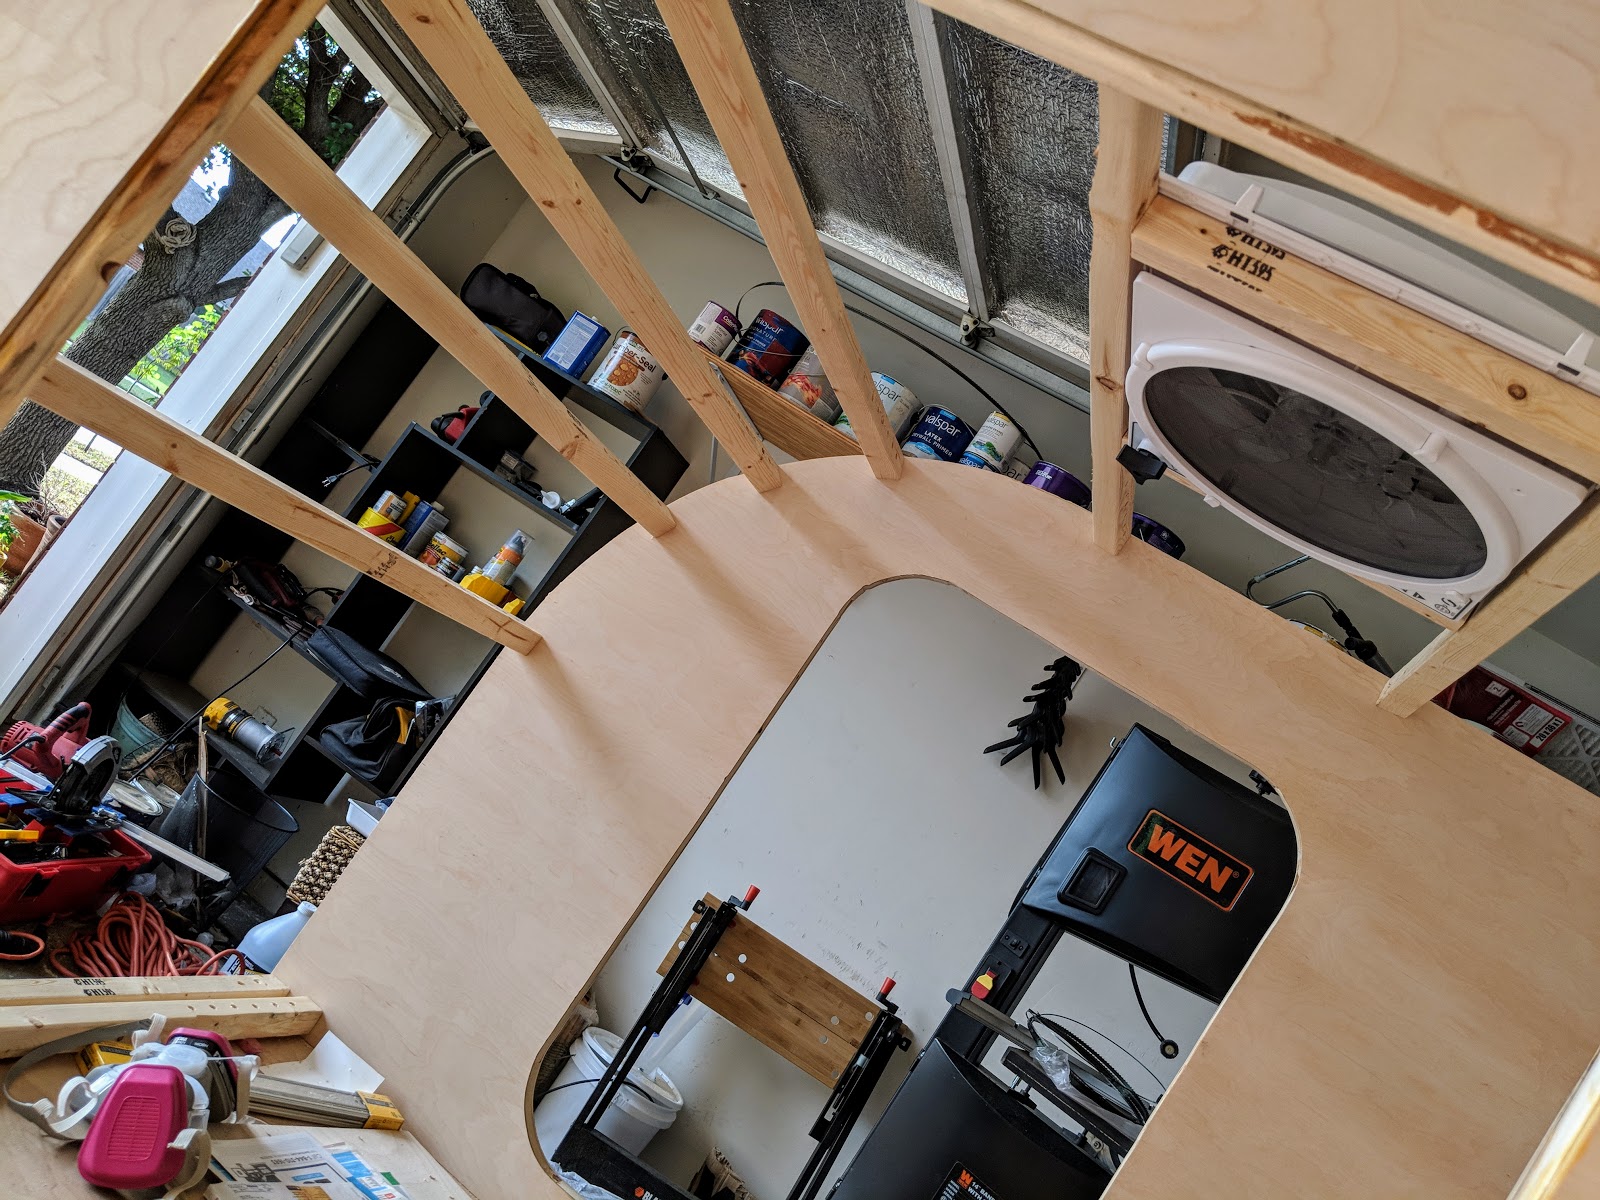
I was off work today so thought I'd get some of the cabinets in the galley worked on while Dan was at work. It's time consuming since we managed to install the counter at an ever so slightly angle, the doors I cut out (16.5"x16 3/8") left a gap on the edges. I ended up fixing it by taking a thumb tack and pressing it into the bottom side that was uneven and it sits level! Win.


I found three sided aluminum trim at Home Depot and took a hacksaw to it and trimmed it to the width of the interior and 46 1/2". I didn't want to take the time to make wooden door tracks for the sliding doors and I like how the aluminum looks against the birch. Since the boards don't bend, I installed the top one by drilling 5 small holes with the drill press and installed it on the upper part with 3/4" screws. The bottom track won't be secured so I can slide it forward to remove the doors when I eventually break them or want to change them. (If that makes sense.) The screws in the top track don't sit flush but it's okay because I cut the sliding doors slightly short so they don't touch the screws when sliding.

Testing to make sure my bird plates fit. (They will be stacked against the wall and secured.) This also shows the tracks and the angle iron trim.


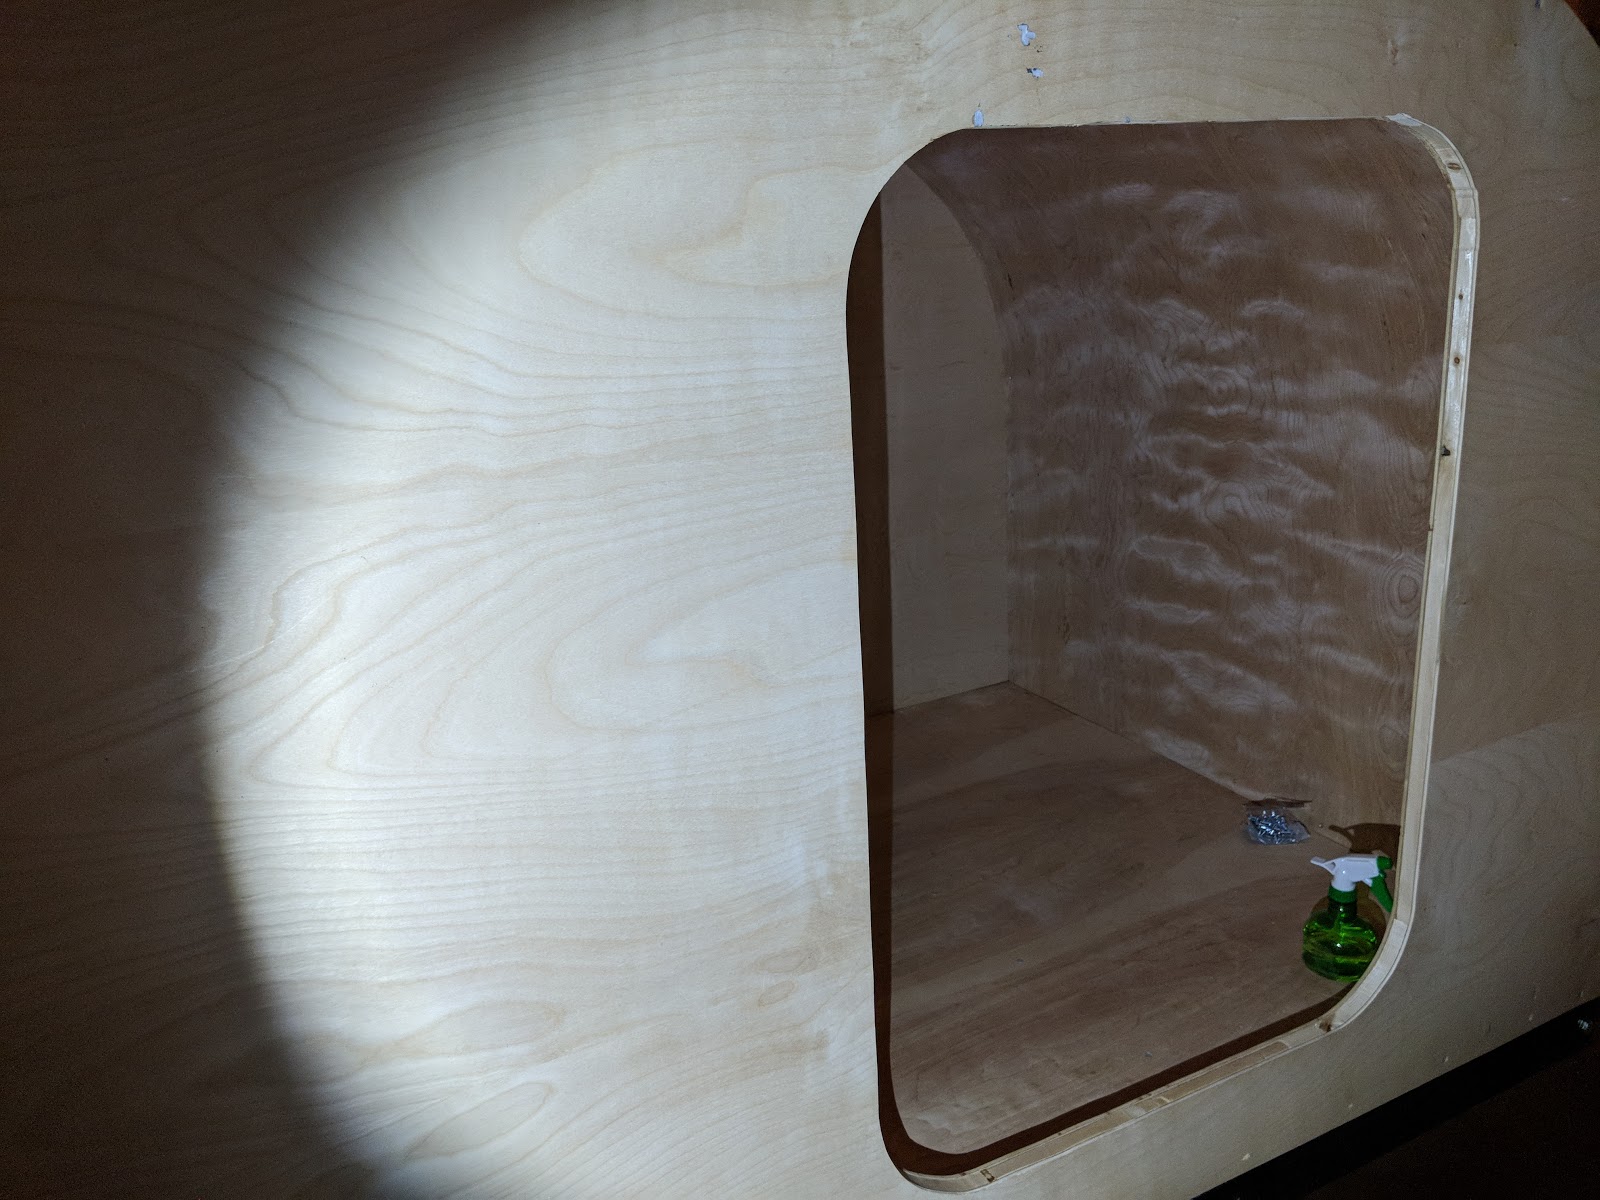
The galley is coming along nicely! The sliding doors and cabinets wont have handles, instead we used a 1" hole bit on our drill press. Dan's pretty thrilled that we get to use all his tools finally!


Total time spent Day 11: 3 hours
Total project hours: 47.5 hours

Day 12 consisted of cutting a board for the inner cabinets, staring at it for an hour and deciding we didn't want to build the inner cabinets until we got the interior roof on so we could better judge our space. I may have gone out and sat for another hour later on. Since we didn't really get anything accomplished (but still spent time) I'm going to log it as an hour. 

Total time spent Day 12: 1 hour 
Total project hours: 48.5 hours

We're going to work on trimming the spars to length and getting the interior installed next! Stay tuned!


Day 36: Finishing Touches II

We're still working on some little things. Built a plate holder and tiny silverware box for the cubby in the galley with extra 1/4"...